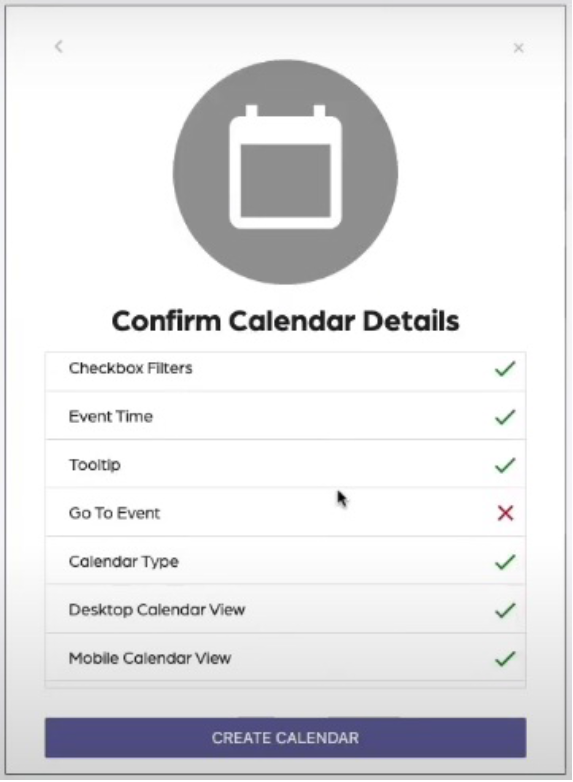
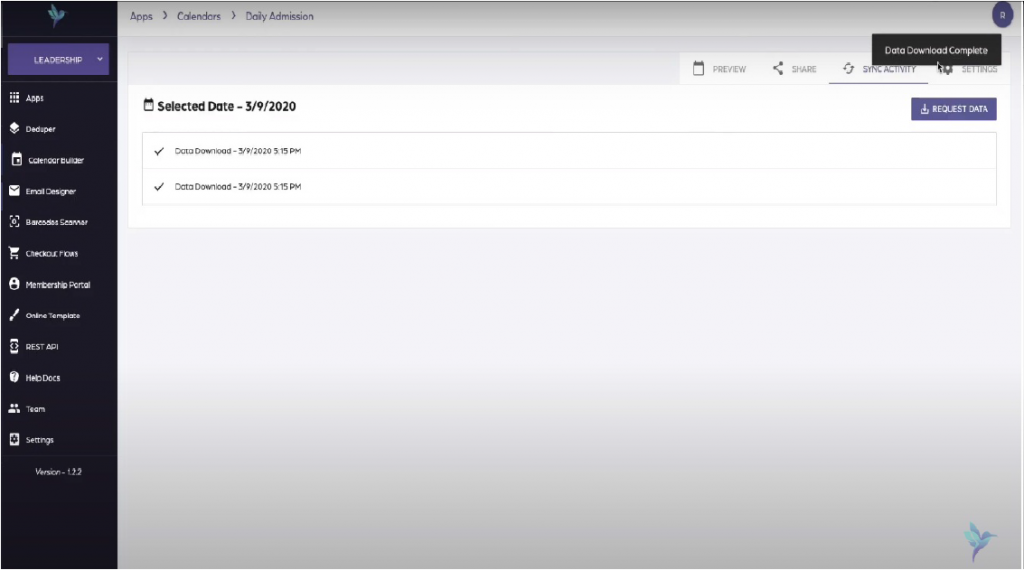
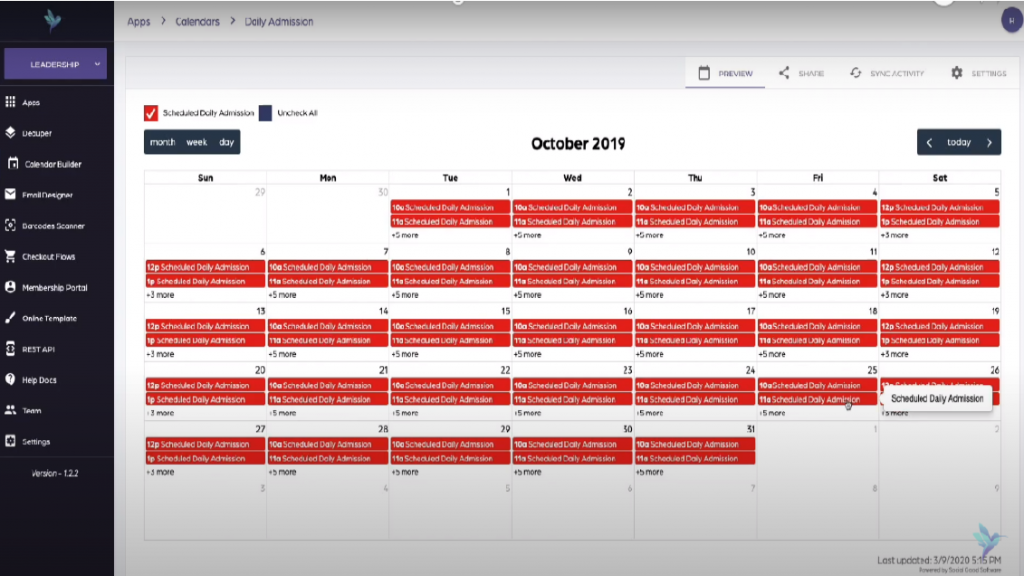
Calendar Builder
- Added support for calendar preview not to cache data. (Only applicable when building your calendar)
- Fixed a minor bug with calendars not opening links in a new tab when viewing in list mode
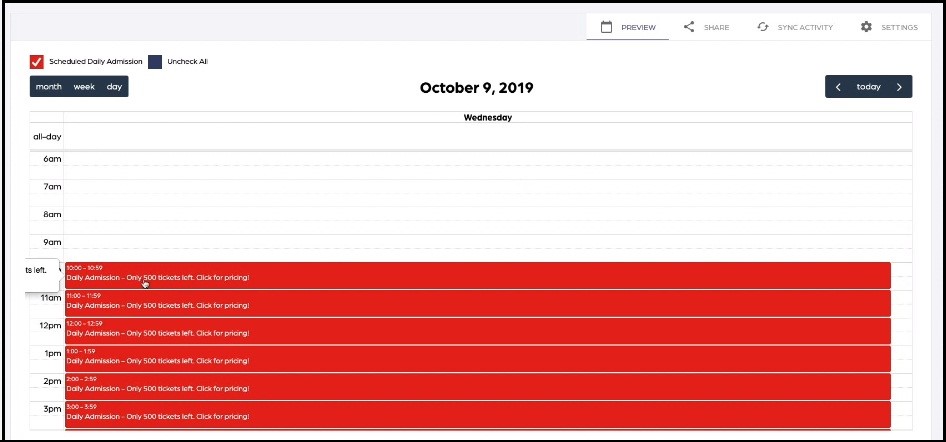
- Added support to remove links from events that have been sold out.
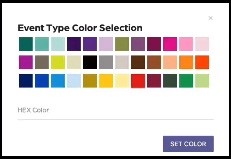
- Fixed a minor bug to keep selected colors as the focus color
- Fixed minor bug with Safari not supporting large calendars in local storage.
- Added support for custom CSS and JavaScript
Email Designer
- Worked on new drag and drop email builder