How to customize the calendar event label
This short tutorial will guide you how to customize the calendar event labels.
Why Need to Setup Customize the Calendar Event Label:
You may need to customize your calendar event labels to meet your organization’s specific needs.
Requirements:
An already created calendar using Social Good Software
Steps:
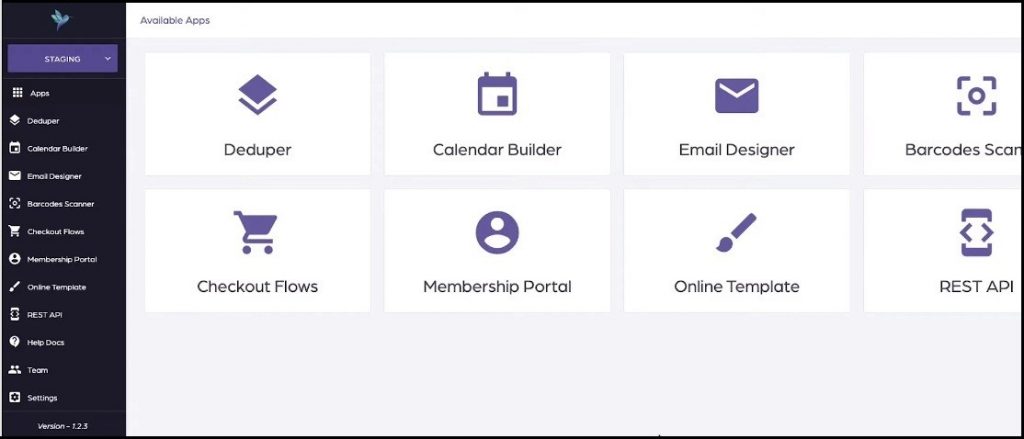
1. Click “Calendar Builder” tab on Social Good App. Now click a calendar from available calendars to open the calendar for which you want to customize the calendar event type labels.

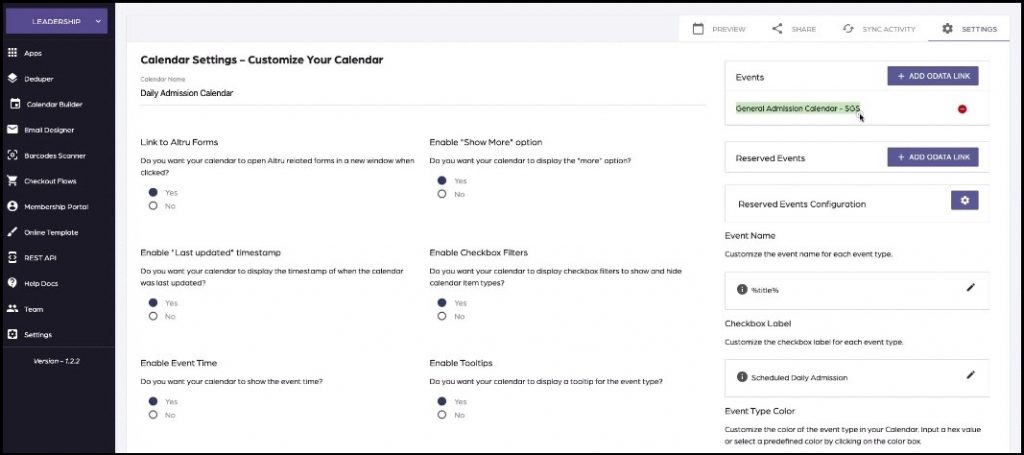
2. Click “SETTINGS” on top right of the interface. This will open settings page with many preferences to customize your calendar.
3. Look for “Events” on the top right side of the settings page.

4. If you want to add another query, click on “ADD ODATA LINK” in front of “Events”.
5. If you want to remove or group sold-out items in your calendar, click “ADD ODATA LINK” in front of “Reserved Events” tab.
6. If you have some query/ODATA Link added to Reserved Events Configuration, click “SETTINGS” in front of “Reserved Events Configuration” and customize the settings according to your preferences.
7. If you want to customize event name for each event type, click pencil sign below “Event Name”. This will open an on-screen message asking you to edit and customize the event name using all or some of the nine available variables. You can copy and paste as many variable as you prefer to customize the event name, and then click “SET NAME”

8. Click “AVE SETTINGS” on the bottom right of the page and then click “PREVIEW” and scroll back to your desired month by using “today” navigation to preview the customized event names.
For example you want to customize the event name useful for a person who wants to buy from the available tickets. Follow step 7 to set the name and type in text bar “Daily Admission – Only %availability% tickets left. Click for pricing”. Follow step 8 to preview the customized event name.

