Add a support team member
- Log into the application.
- Click on “Team” in the sidebar.
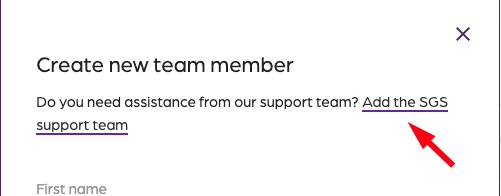
- Click “Add Member”.
- Click on “Add the support team”.
- The support team now has access to your account
Creating amazing guest experiences through innovative software solutions for the social good community
Add a support team member
Connect your new personal access token PAT with the application.
If you have an existing connection with your account, you can skip to step 3 and enter just the username and personal access token.
Step 1:

Step 2:
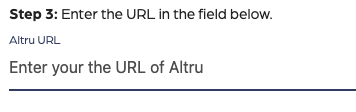
Step 3:
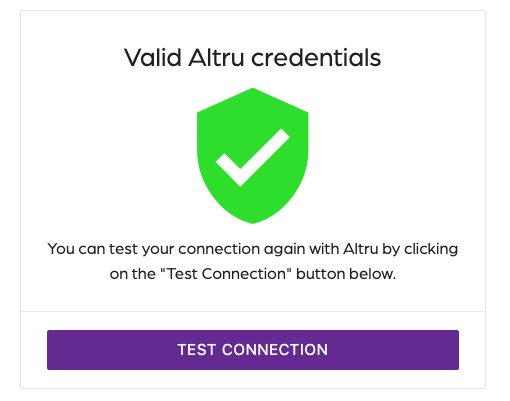
Now view the message “Valid Altru Credentials”, indicating that your credentials are valid, and you are ready to start using the application.
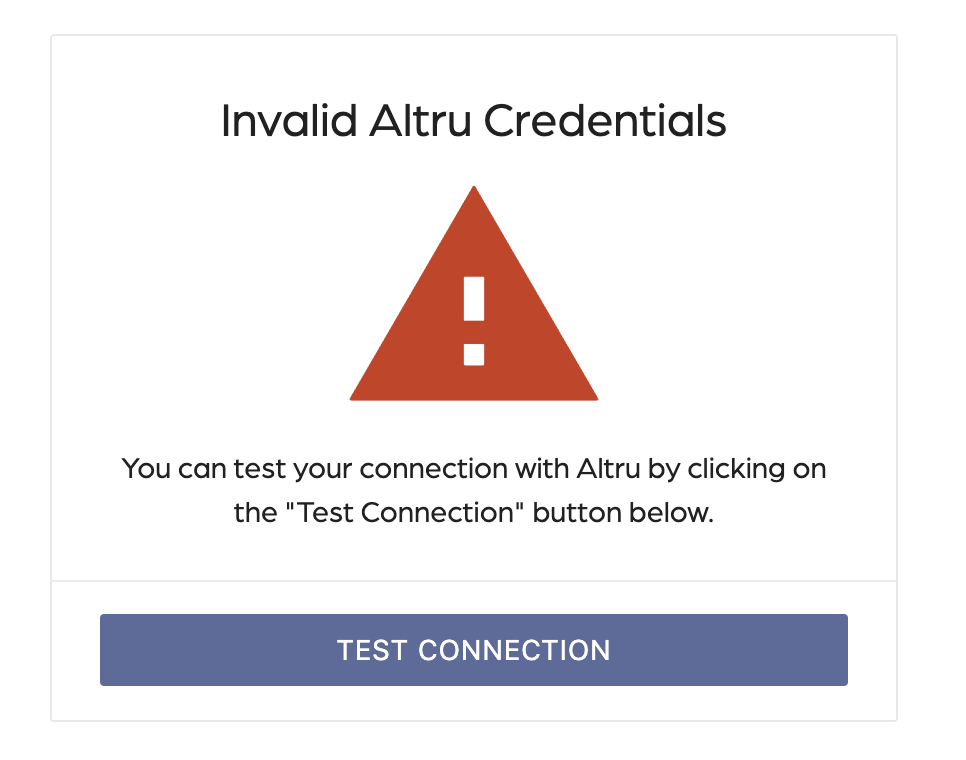
If you see the “Invalid Altru Credentials” message, please verify that you have followed all the steps correctly. A typo or an invalid value could cause this message.
If you are updating an account that was previously connected, use the following format to get the values needed.
Altru Domain: https://XXX.blackbaudhosting.com
Altru Root Directory: XXX
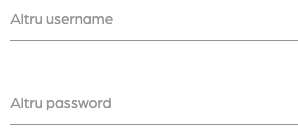
Altru Username: ENTER_YOUR_USERNAME
Altru Password: ENTER_YOUR_PASSWORD
Altru Database: XXX-XXX-XXX-XXX
Altru Instance ID: XXX
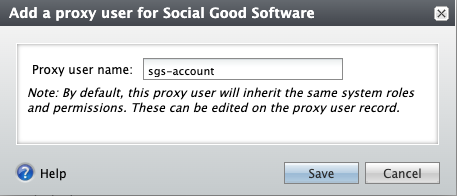
To connect the application with Altru, you are required to create a proxy user in Altru using a personal access token (PAT). This is required to access Altru programmatically and ensures appropriate login credentials to support data security and avoid risk of data breaches. This user account is independent of your existing accounts.
Step 1: Login to Altru
Step 2: Create a proxy user
Step 3: Assign roles
If unable to add the roles to the proxy account, click on the “Proxy owner” and assign the roles to the user first, then assign roles to the proxy user.
Altru, as of this writing, does not allow defining custom roles. If needed, contact your Account Executive at Blackbaud to define and create a new role for you.
Step 4: Personal access token
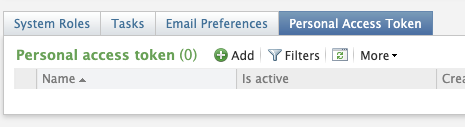
Obtain your account name and token to use with the integration. Avoid assigning the System Administrator role to this account. Do not share your newly created account with anyone other than the application.
Altru requires you to create a personal access token every 12 months. Ensure you comply with Altru’s policy and keep your token up to date by creating a new token every 12 months.
Did this answer your question?
You will need to provide access to our support team so that we can assist you in creating the Altru queries necessary for our product integrations and data backups. Follow the steps below.
Step 1: Application users
Step 2: Invite
| Role name | Description |
|---|---|
| Attribute Categories | Create categories |
| Code Tables | Access code tables |
| Development Data Entry | Update records |
| Guest Services Manager | eTickets, test Advanced Sales in the portal |
| Marketing Manager | Create queries |
| Membership Manager | Access the membership record |
| Web Forms Administrator | Access the membership record |
| Ticket Seller | Reads and writes access for tickets |
At this point, our support team will be able to assist you with any support-related questions.
You’ll receive an email from your account manager. The email contains a link to the page where you can create your account.
Step 1:
If you have not been assigned an Account Manager, reach out to our support team at support@socialgoodsoftware.com.
If you are not an Account Administrator, you need to reach out to the Account Administrator at your organization and have them invite you into their team.
Step 2: Verify account
It’s important you log in to your account to notify your Account Manager.
Step 3: Account approval
Keep in mind that when you fill out the form, you must provide your organization’s information and not your personal information.
In today’s digital era, it is essential for organizations to adapt and embrace technology to streamline their operations and enhance customer experience. For nonprofits and arts and culture organizations, managing memberships can be a complex task, involving numerous administrative processes. However, with the Membership Portal for Altru, organizations can now provide their members with a seamless online experience, allowing them to view, upgrade, and renew their memberships with ease.
One of the standout features of the Membership Portal for Altru is its user-friendly interface. Designed to be easy to navigate, this centralized source allows members to manage their memberships online, reducing the need for support calls and ultimately increasing membership retention. With just a few clicks, members can access vital information such as their membership type, level, expiration and renewal dates, as well as their purchase history. Additionally, they can also contact member services directly through the portal, further enhancing their experience.
Another advantage of the Membership Portal for Altru is the integration of digital membership cards. By going green and eliminating the need for physical cards, organizations can save both time and money. Members can log in using their Altru primary email address and view a digital version of their membership card. This not only eliminates the hassle of printing and mailing physical cards but also ensures that members never lose their cards. With one login credential, members can conveniently have their digital card scanned in for visits, providing a seamless experience.
Furthermore, the Membership Portal for Altru offers self-service profile management. Members can log in using their Altru primary email address and access their personal information. They can update their details, such as their name, address, and phone number, without the need to contact the organization directly. This not only saves time and frustration for both members and staff but also ensures that the organization’s database is up-to-date and accurate. Members can also opt-out of marketing messages, giving them control over their communication preferences.
Data security and consistency are paramount concerns for any organization. With the Membership Portal for Altru, organizations can rest assured that their data is secure and consistent. The portal features real-time data updates, ensuring that members see the most up-to-date information from Altru. With 24/7 monitoring, organizations can trust that their data is protected, providing peace of mind for both the organization and its members.
The Membership Portal for Altru is trusted by leading arts and culture organizations, demonstrating its reliability and effectiveness. Powered by leading technology partners like Microsoft, Amazon and Blackbaud, it combines cutting-edge technology with a user-friendly interface to deliver an exceptional experience for organizations and their members.
In conclusion, the Membership Portal for Altru is a game-changer for organizations in the nonprofit and arts and culture sectors. With its easy-to-use interface, digital membership cards, self-service profile management, and real-time data updates, organizations can streamline their membership processes, increase member retention, and provide a seamless online experience for their members. By embracing technology, organizations can enhance their operations and better serve their members, ultimately advancing their mission.
In today’s fast-paced world, time is of the essence, and convenience is paramount. Social Good Software, the leading organization in promoting arts and culture, understands the importance of providing exceptional experiences to its valued members and ticket holders. That’s why we are thrilled to introduce our latest innovation – a cutting-edge barcode scanner specifically designed for membership cards and tickets.
Say goodbye to long queues and frustrating manual ticket checks. With this state-of-the-art barcode scanner, members and ticket holders can now enjoy a seamless and efficient entry process at any event or exhibition. The scanner swiftly reads the barcode on the membership card or ticket, instantly granting access to the venue.
The benefits of this new technology extend beyond just streamlined entry. Members can now conveniently access exclusive perks and discounts by simply scanning their membership card at participating vendors. Whether it’s a discount at the gift shop, a complimentary beverage at the café, or priority seating at a performance, this barcode scanner makes it all possible with just a quick scan.
For ticket holders, this innovative tool ensures a hassle-free experience from start to finish. No more printing and carrying physical tickets – simply present the digital ticket on your smartphone, and the barcode scanner will take care of the rest. By eliminating the need for physical tickets, Social Good Software is taking a significant step towards sustainability and reducing waste.
Additionally, this barcode scanner allows Social Good Software to gather valuable data on attendance and visitor preferences. By tracking the flow of visitors and analyzing their preferences, Social Good Software can enhance future events, exhibitions, and programs to cater better to the interests and needs of its audience. This data-driven approach ensures that Social Good Software continues to provide extraordinary experiences that exceed expectations.
The implementation of this barcode scanner is a testament to Social Good Software commitment to innovation and customer satisfaction. By leveraging technology, Social Good Software aims to create a seamless and memorable experience for its members and ticket holders, making every visit to an event or exhibition a truly remarkable one.
We are excited to roll out this new technology and invite all members and ticket holders to experience the convenience and efficiency it brings. Join us in embracing this digital revolution, as we strive to make every interaction with a delightful and unforgettable one.
Donating is a form of caring. Many of your guests and members may want to give back to those in need through your organization. To be sure that you have records in Altru of the donations received, you need to provide the donation form link to your constituents. It will ensure that all donations to your organization are accounted for properly. Follow this guide on how to get the link.


You now have the link to your Altu donation form. You can add to your web forms and emails, making it easier for your constituents to donate.
Please contact us at support@socialgoodsoftware for your questions or if you need clarifications. We are always happy to help!
Digital guest passes in Altru is a privilege you can give to your members, guests, and other organization. It can be a benefit offered to your members based on their membership levels, free admission for your guests, and sponsorship benefits for other organizations.
Giving guest passes is an excellent way of showing appreciation to your donors. You can issue it as a way of consoling your constituents if an exhibit is unavailable the day they visit so they can attend on a different day. You can also provide guest passes to a company that sponsors your organization by giving free guest passes to their employees. It is a way of showing that your organization acknowledges their support.
Enable the Digital Guest passes in Altru and use them effectively by following the steps below.


 | Remember: Guest passes in Altru can be disabled, but you must first delete the membership benefits assigned to membership levels. By doing so, you won’t be able to add the guest pass benefit to membership levels and constituents. However, constituents can still redeem valid guest passes you already issued. |


| Remember: Guest passes are issued automatically when someone avails of a membership or renews a qualifying membership. |


A printed guest pass is not necessary because it can directly redeem on the Daily Sales. Guests only need to provide work IDs if employees of the sponsor organization or members’ membership cards to verify the identity of the pass owners.


| Remember: You can check the redeemed guest passes on sales orders. It will appear under the Benefits tab if the order includes a membership purchase or upgrade. |

You can use the Guest Pass Report in Sales to manage your guest pass program. This data will show you the number of issued and redeemed passes with ticket value. It will help your organization for future-decision making concerning this program so you can use it to your advantage.
Please email us at support@socialgoodsoftware for your questions or if you need clarifications. We are always happy to help!
January 26, 2023