Having a shared email address among the members of a family who signed up for your organization is unavoidable. But this will send the same email multiple times to the same household. To avoid this scenario, detach the email addresses from constituents and assign a primary email address.
Detaching email addresses was made easier using the batch process of removing emails in Altru. With this method, no need for you to manually remove the email addresses one by one from each of your records, which will take a lot of time, especially if you have thousands of data.
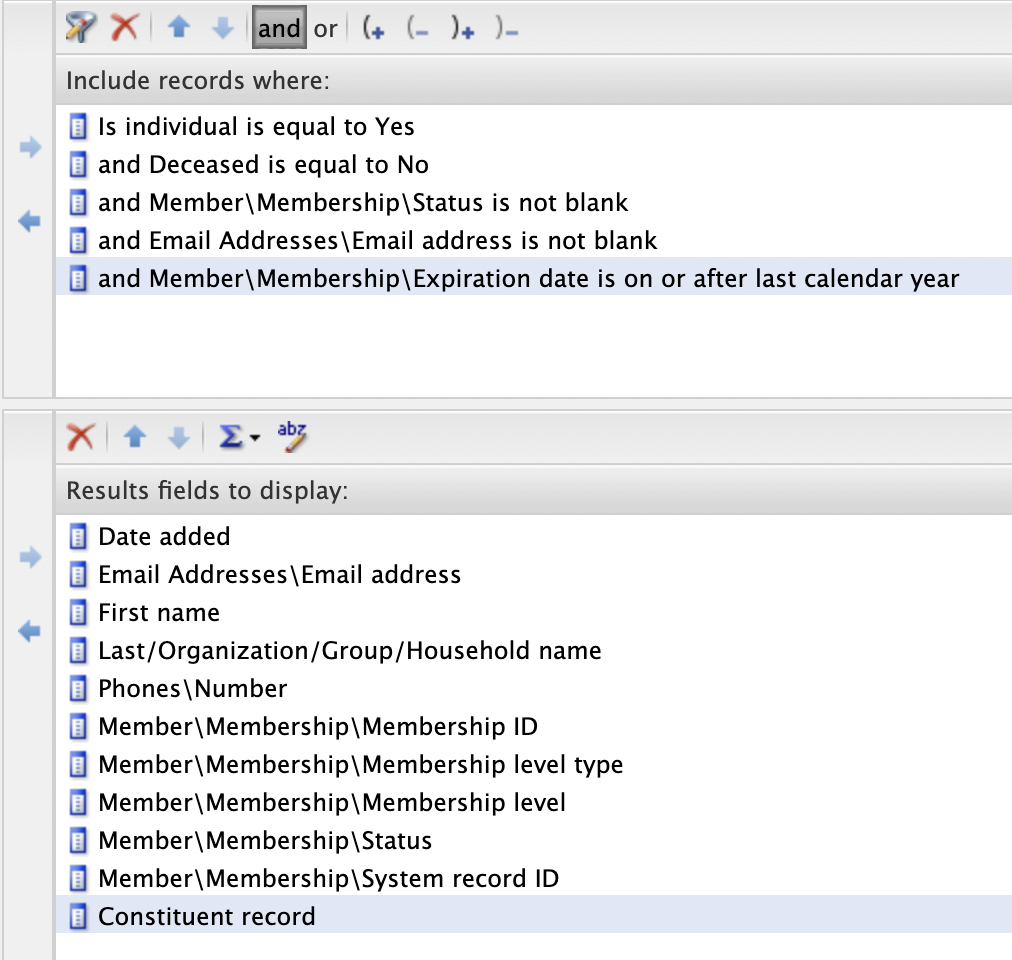
You can remove email addresses using the batch process by uploading a CSV file or Excel that contains the email address and the System Record ID.
 | Important: Only upload the spreadsheet rows of constituents you want to detach the shared email addresses. |
Email removals through the batch process
1: Ready your CSV file or Excel containing rows of email addresses and System Record IDs of the constituents you want to remove the email from to upload.
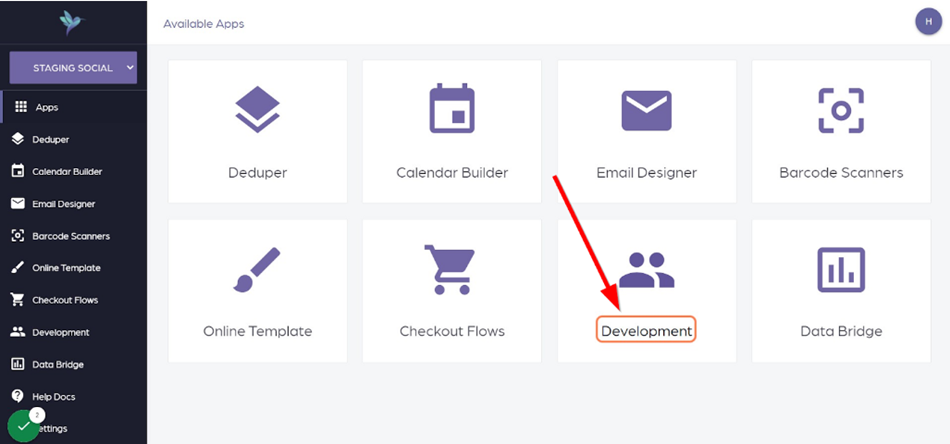
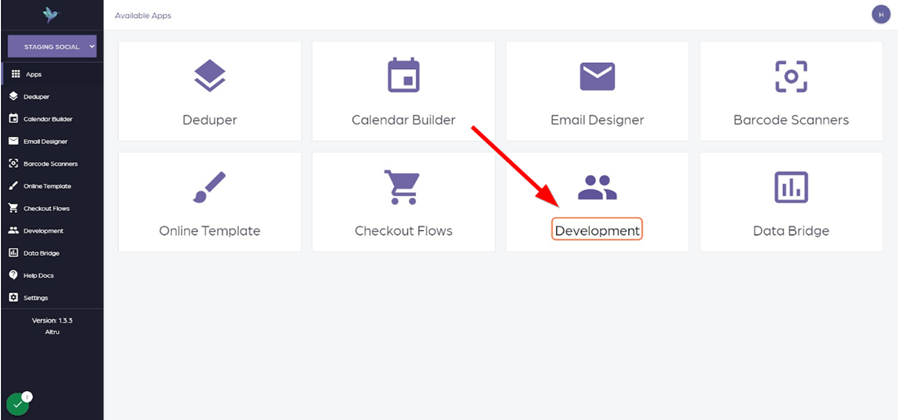
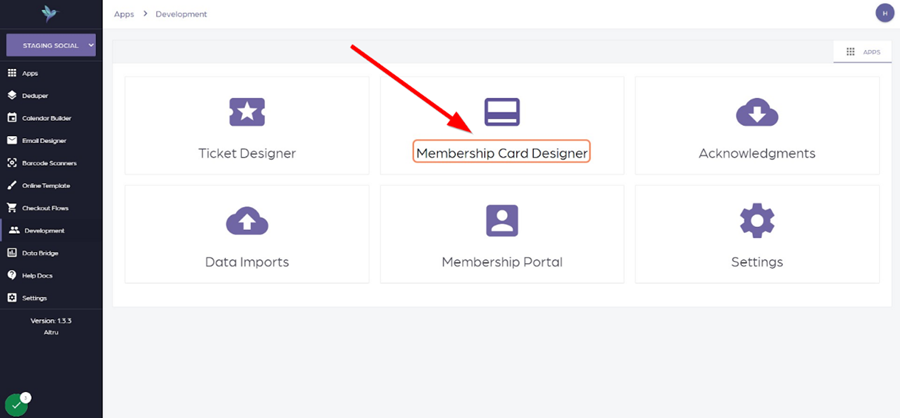
2: Go to your Social Good Software account and proceed to Development.

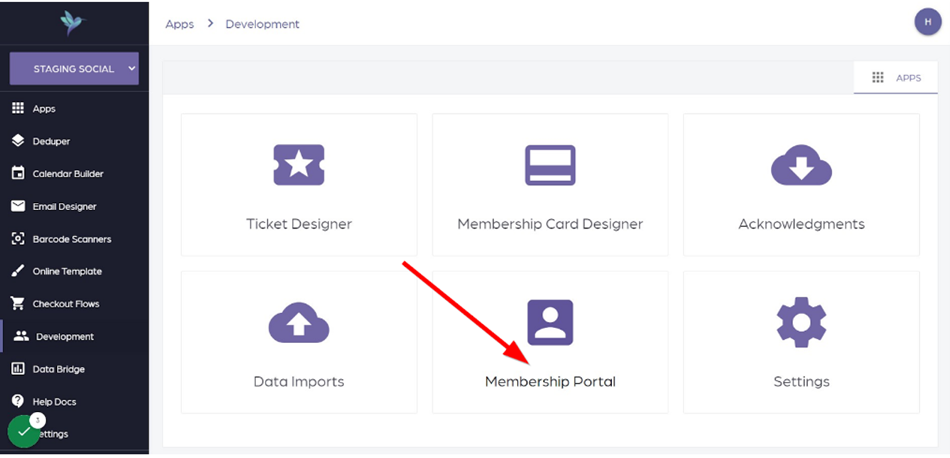
3: Click on Data Imports.

4: Proceed to Create Data Import button.

5: A dialog box will pop out where you can name your import activity. Click Next.

6: Select how you want to import your data. In this example, we will go to File upload. Click Next.

7: Select the action you want to happen. Once done, click Next.

8: You can receive an email notification when the process ends. Just add your email address to this dialog. Click next.

9: Click the CREATE DATA IMPORT button to start importing your data.

10: Click on the file you just made.

11: You can now upload your file but before you do, make sure that the email addresses and System Record ID of the constituents where you want to remove the shared email addresses are in place.

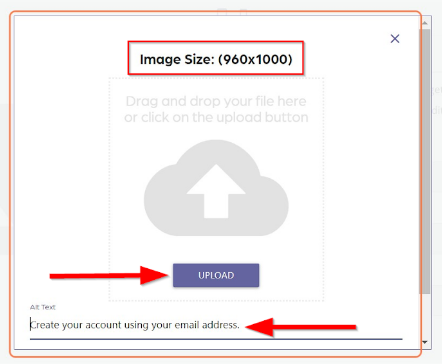
12: Go to Settings. Click UPLOAD if your file is ready, or drag and drop your file.

Preview
1: Proceed to the Preview tab and check the information you just uploaded. Go to Settings if you want to perform some adjustments. Once done, click on Save Settings.
Email address: Email
System record id: System record ID

2: Proceed to the Activity tab and click the Batch Import button.

3: You will have the following results once the batch process of email removals is complete:

Batch Email:

You can go to the Activity tab to check the progress of your batch process. If you found email addresses that failed to remove, we recommend that you check them inside of Altru so you can figure out the reason/s why it did not work.
If you have questions, please reach out through our support channel. We are always happy to help!