How to customize the group checkbox label
This short tutorial will guide you to customiz3 the group checkbox labels inside your calendar.
Requirements:
An already created calendar by using Social Good Software
Why Need to Customize the Group Checkbox Label:
Checkbox labels enable you to apply filters to hide or show certain events or fields.
Steps:
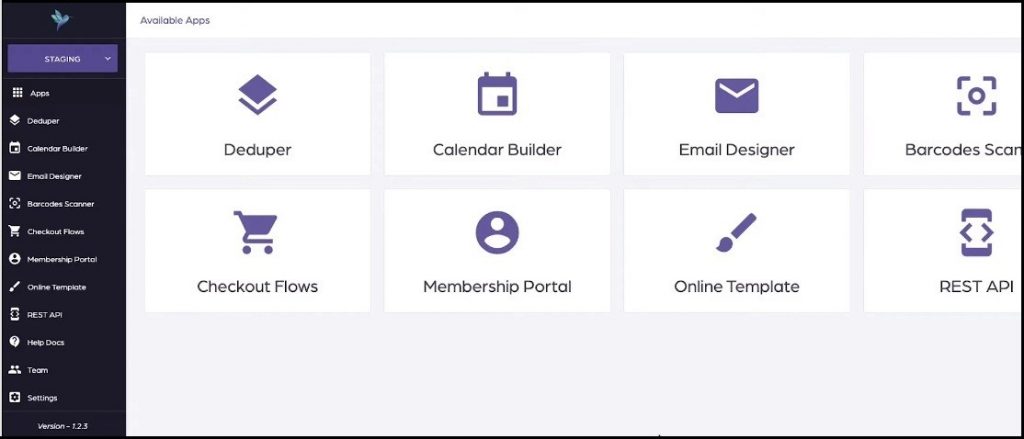
1. Click “Calendar Builder” tab on Social Good App. Now click a calendar from available calendars to open the calendar on which you want to group checkbox labels.

2. Click “SETTINGS” on top right of the interface. This will open settings page with many preferences to customize your calendar.
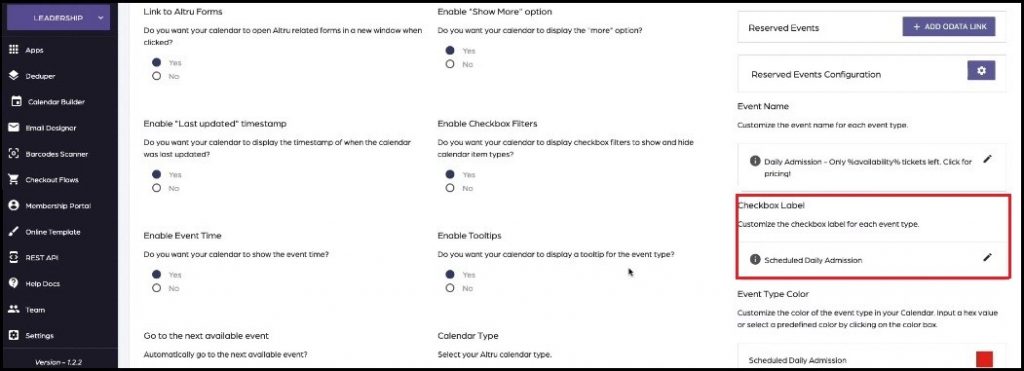
3. Look for “Checkbox Label” on the right side of the settings page. Click pencil sign to edit Checkbox label. Edit the label and click “Set Label”.

4. Click “SAVE SETTINGS” on bottom right of the settings page, and preview the calendar.
5. The selected checkbox will appear on top left of the calendar. Go to a month with some events in the calendar and then check and uncheck the checkbox to preview the effect and functionality of the checkbox.
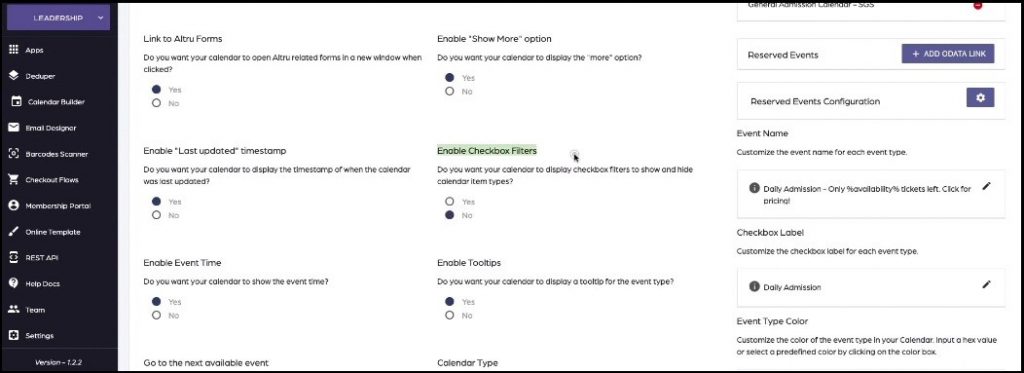
6. Anytime, if you do not want the checkbox enabled, disable (by selecting “No”) “Enable Checkbox Filters” from the settings preferences.

