This short tutorial and/or video will guide you how to add custom CSS and JavaScript to calendar.
Why Need to Add Custom CSS and JavaScript to Calendar:
Adding custom CSS and JavaScript enables you to improve the functionality of your calendar to meet your organization’s special requirements and preferences.
Requirements:
An already created calendar using Social Good Software
An already written CSS and Javascript you want to add to your calendar
Note: You can also “Reach out to us” if you need help writing these code.
Steps:
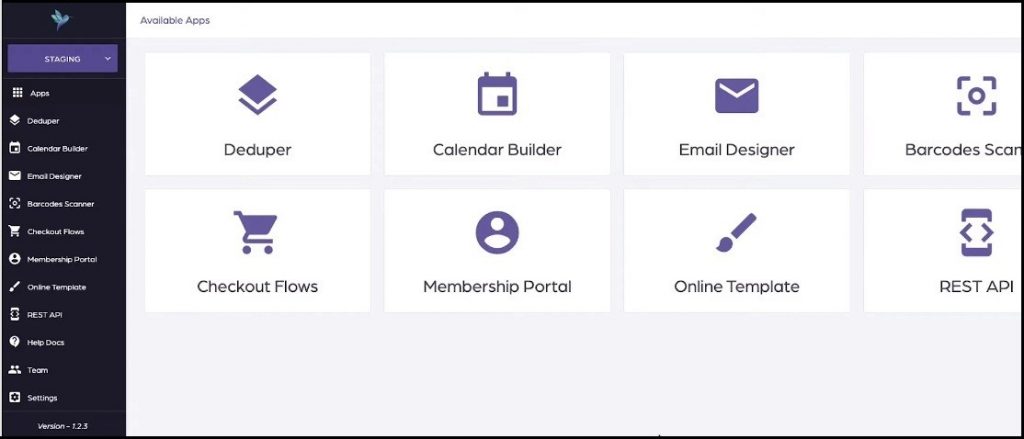
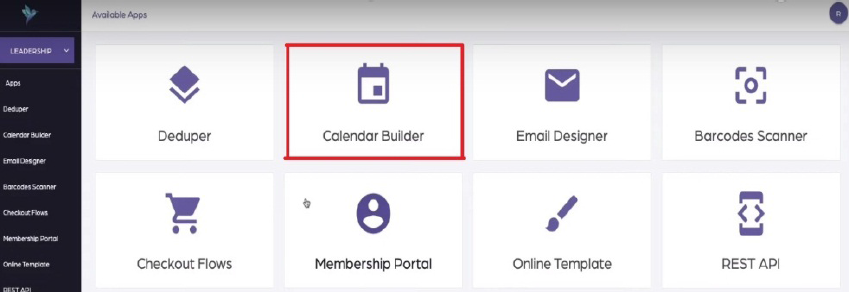
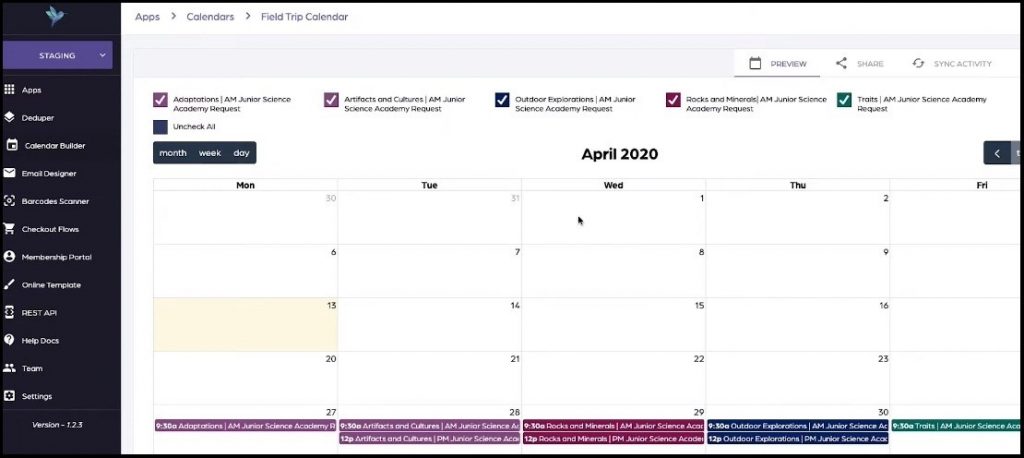
1. Click “Calendar Builder” tab on Social Good App. Now click a calendar from available calendars to open the calendar to which you want to add custom CSS and JavaScript.

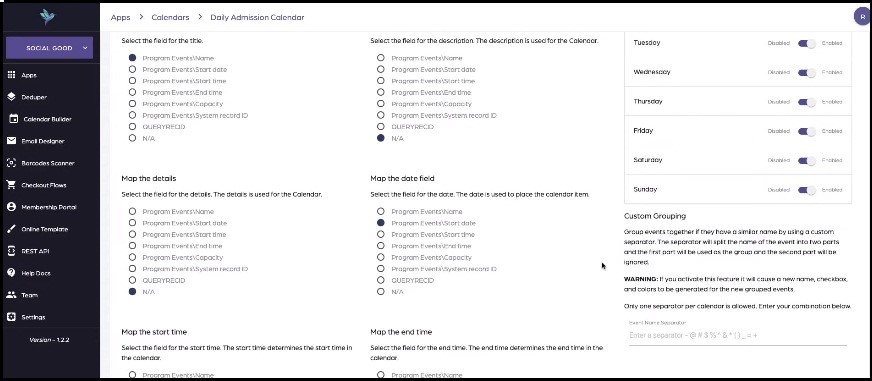
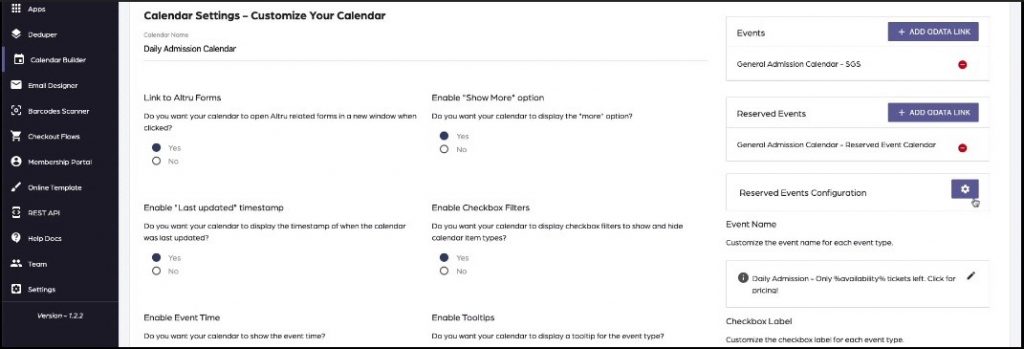
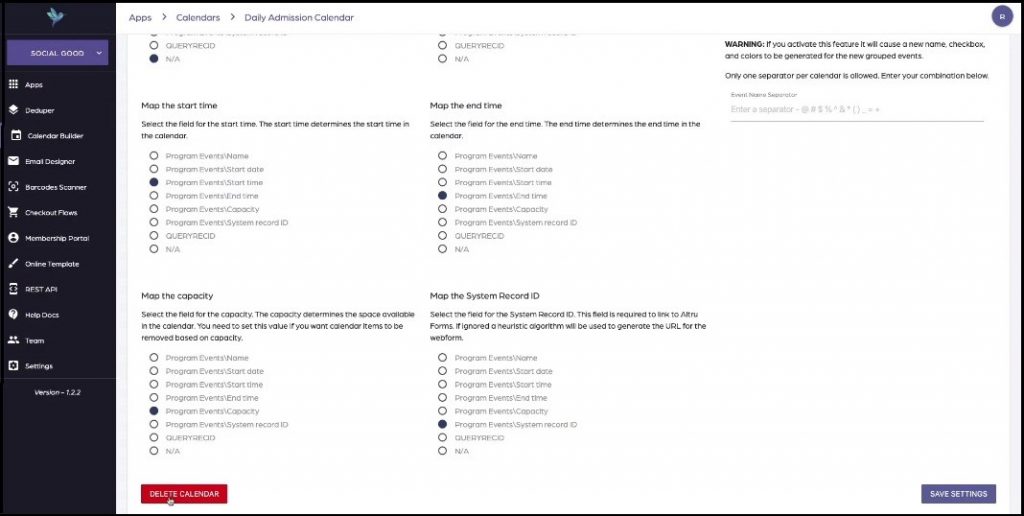
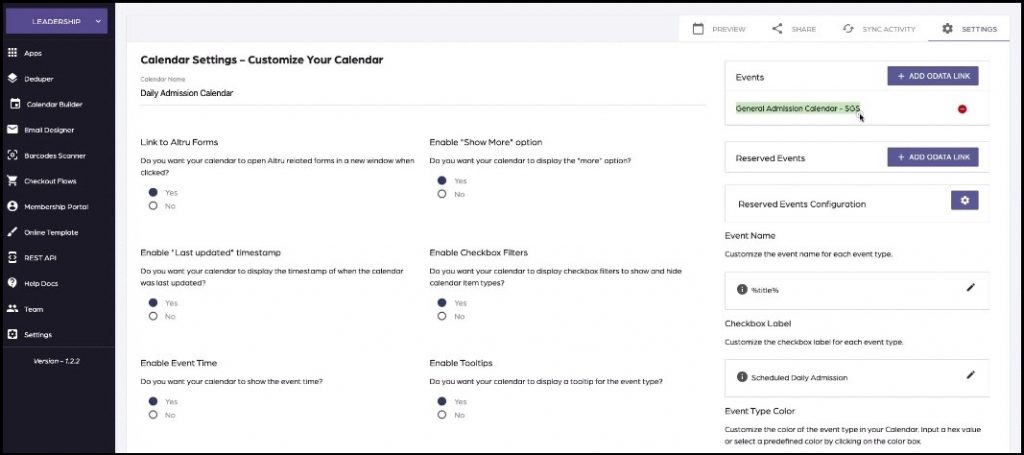
2. Click “SETTINGS” on top right of the interface. This will open settings page with many preferences to customize your calendar.
3. Scroll down the settings page and look for blue colored “CSS” and “JavaScript” tabs on the left side of the settings page.
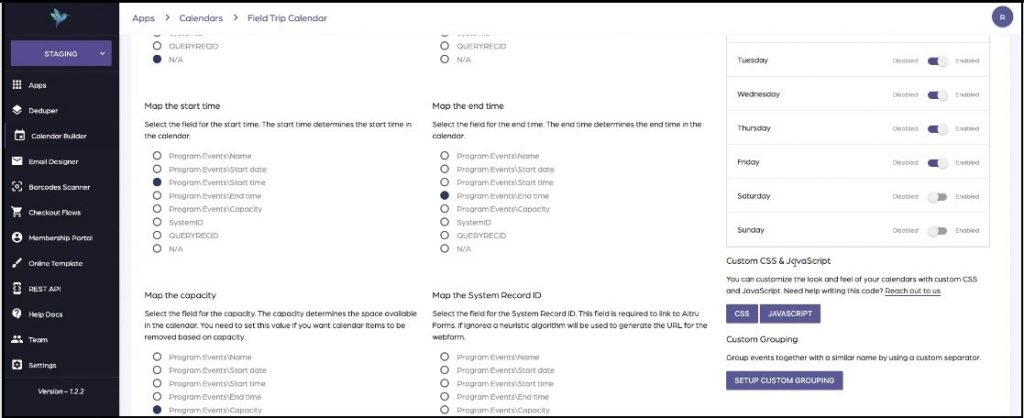
4. Now click “CSS” tab, copy paste the CSS code in “Custom CSS Code” box and press “Save”.
5. Similarly click “JavaScript” tab, copy paste the JavaScript in “Custom JavaScript Code” box and press “Save”.
6. Now click “SAVE SETTINGS” at the bottom left of the settings page and scroll up the page.
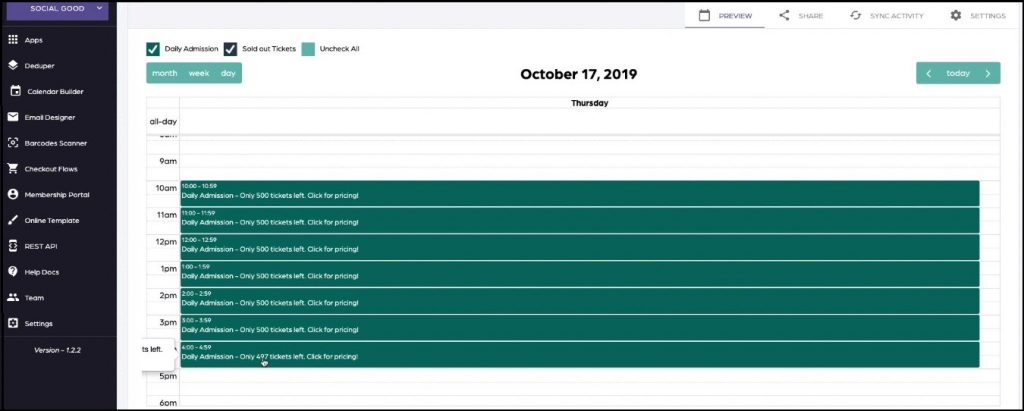
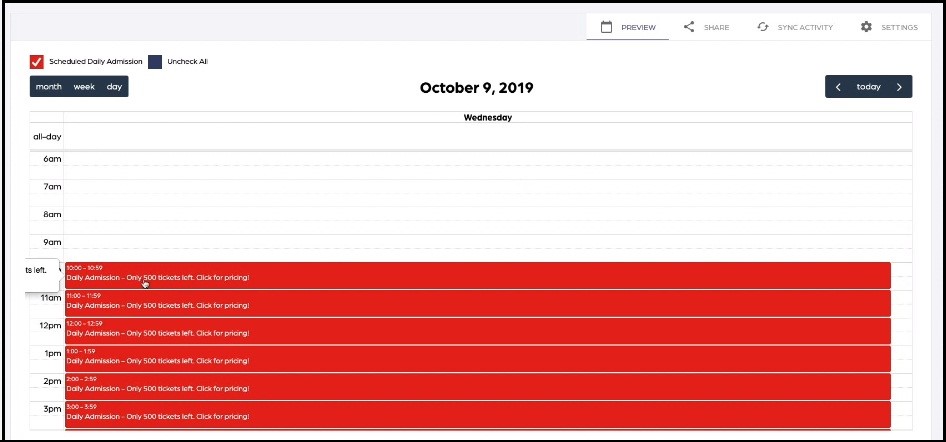
7. Next click “Preview” tab on the top right of the page to preview the added functionality of CSS and JavaScript code.
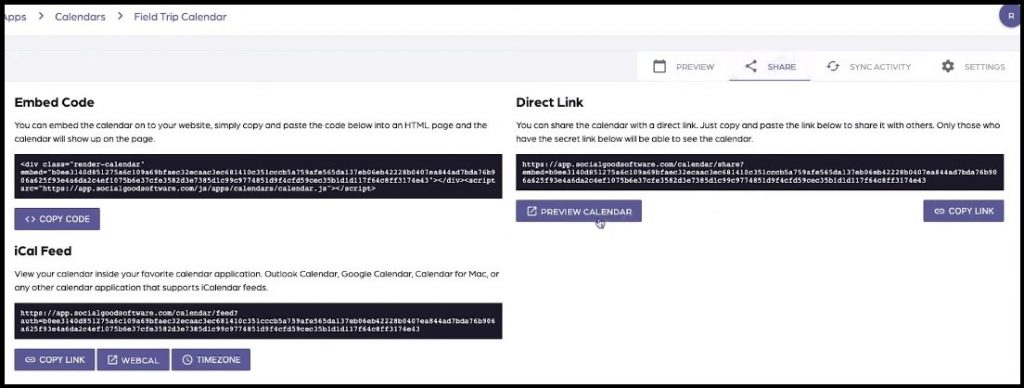
8. Click “Share” tab on the top right of the page and then click “Preview Calendar” and go down to mobile device by shrinking your window down or by using your mobile device to preview the calendar on a mobile device.
Note: Anytime you want to remove/edit the CSS and JavaScript from your calendar go to “CSS” and “JavaScript” tabs and remove/edit the code.
CSS
.render-calendar .container-wrapper {
    max-width: 80%;
    float: left;
}

.render-calendar .checkbox-wrapper {
    width: 19%;
    overflow: scroll;
    padding-left: 1%;
}

@media (max-width: 650px) {
    .render-calendar .container-wrapper {
        max-width: 100%;
    }

    .render-calendar .checkbox-wrapper {
        width: 100%;
        padding-left: 0%;
    }

    .render-calendar .checkbox-container {
        width: 100%;
        max-width: 100%;
    }
}
JavaScript
var checkboxes = $(container).find('.checkbox-wrapper').detach();
$(container).append(checkboxes);
var height = $(container).find('.container-wrapper').height();
$(container).height(height);
$(container).find('.checkbox-wrapper').height(height);