Help Center
How to enable and disable the continuous scanning option
Social Good Software Update 1.2.6v
Data Bridge
- Created a data bridge based on an ODATA query
- Create, Delete, Share and auto-update data with Altru
- Connect Data Bridge with Google Sheets and Excel
- Authentication credentials are generated per widget
- You can create widget types
- Gauge
- Google Sheet
- Excel
- Restricted access to the data bridge based on subscription plan – Expert plan is required
Calendar Builder
- Added support for IE11 to render calendars
- Added support for sites with jQuery 1.9.0. or older
- Fixed a minor bug when duplicate keys are used on creation
- Added better support for windows to view reservation fields selection
Email Designer
- Fixed a minor bug with Emails not sending when Altru is not available
- Fixed a minor bug with multiple download complete dialogs showing
Barcodes Scanner
- Added new UI for administrator panel to work better with different resolutions
- Added new dialog for color pickers on the Admin portal
- Added new feature to view the valid barcode scanned in
- Added continuous scanning option for mobile, web and desktop apps
- Released a new version of the app
- Fixed a minor bug with barcodes not validating with Altru
- You can now see error messages in the sync activity
Online Template & Checkout Flows
- Dynamic checkout flows will only work if the Template script is embedded on the same page. (Fixes a bug with data binding)
System Improvements
- Added better support to parse Altru URL for credentials when setting up the connection with Altru
- Improved caching for old files on app.socialgoodsoftware.com
How to add a Timed Ticketed calendar to WordPress
How to create a Tickets Sold Today Query with Altru
Requirements
Before getting started with this guide please make sure you meet the following requirements.
- You have an Altru account with permission to create ODATA queries
Once you have the query created you will be able to set up the query with the Social Good application.
How to create a ticketed program query
Step 1: Opening the information library
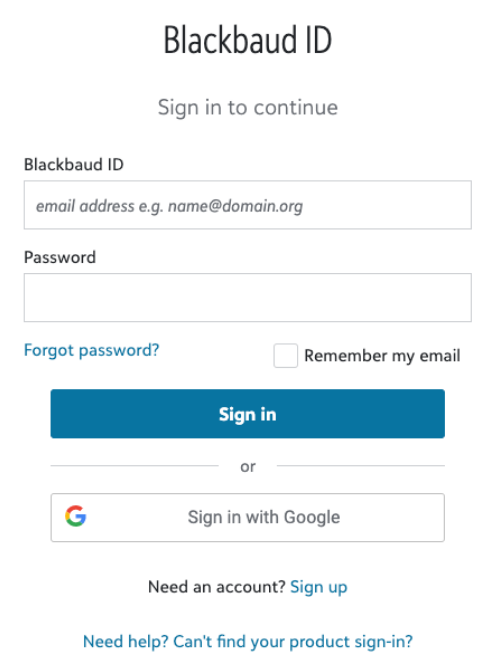
Go to your instance of Altru and log in with your username and password.
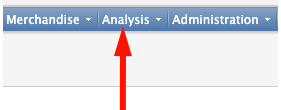
Once you have logged in click on the “Analysis” tab on the navigation bar.
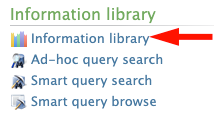
Click on the “Information Library” section sub-menu selection to open the query builder.
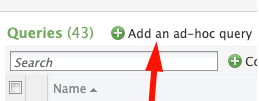
Step 2: Creating a new ad-hoc query
Click on the “Add an ad-hoc query” button to start the process of creating a new query
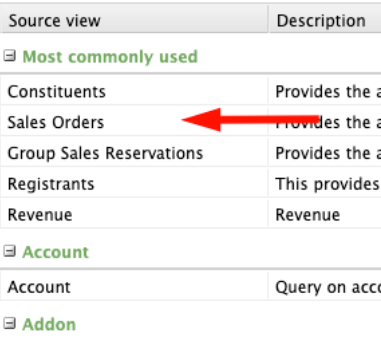
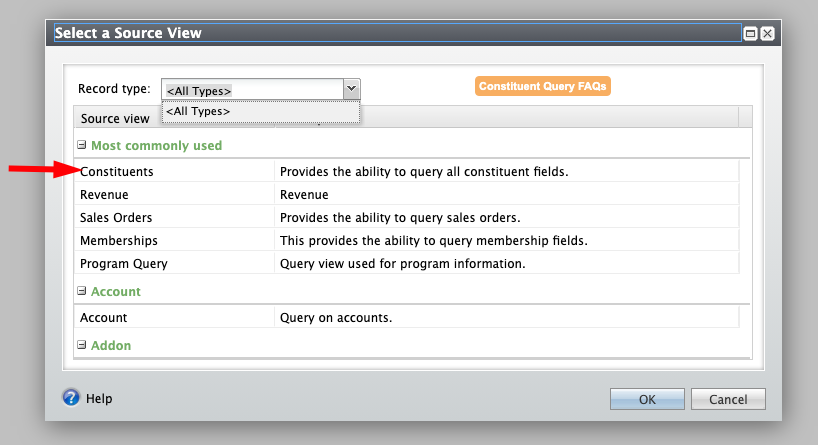
Select the “Sales Order” query type.
Let’s first start with the “Include records where:”
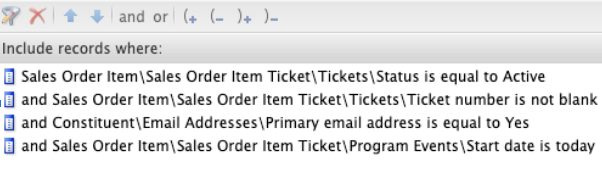
Sales Order Item\Sales Order Item Ticket\Tickets\Status is equal to Active (optional)
and Sales Order Item\Sales Order Item Ticket\Tickets\Ticket number is not blank (*required)
and Constituent\Email Addresses\Primary email address is equal to Yes (optional)and Sales Order Item\Sales Order Item Ticket\Program Events\Start date is today (*optional)
Feel free to change or adjust the query to your organization’s needs. For example, if your tickets are valid for an entire year you can use the “This calendar year” option.
Secondly let us output the fields “Results fields to display:” we will need.
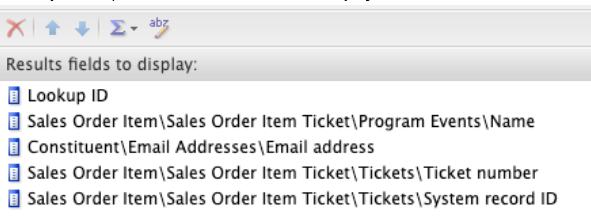
Lookup ID (optional)
Sales Order Item\Sales Order Item Ticket\Program Events\Name (optional)
Constituent\Email Addresses\Email address (optional)
Sales Order Item\Sales Order Item Ticket\Tickets\Ticket number (*required)Sales Order Item\Sales Order Item Ticket\Tickets\System record ID (*required)
The result fields you choose to display will be shown in the application and can be used for looking up a constituent based on the output of the query. You just have to make sure you include them in the results fields to display and they will automatically show up in the mobile app.
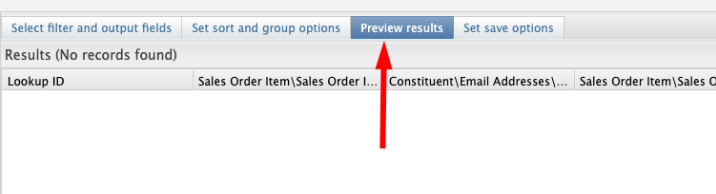
Step 3: Preview and save query
Once you have finished creating your query it’s time to preview the data and save the query.
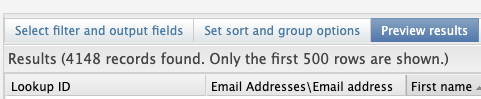
Click on the “Preview Results” tab on the top navigation of the query builder

At this point you want to verify you are getting valid data and once you are happy with the output of the query you are ready to move on to the next step of saving the query.
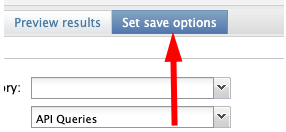
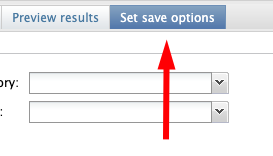
Click on “Set save options”
Now it’s time to save the query. Give your query a name.

Tickets Sold Today | Barcode Scanner
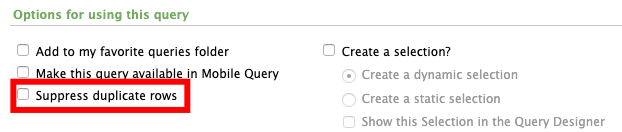
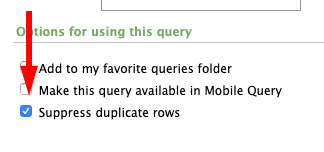
Go to the “Options for using this query” section and uncheck the “Suppress duplicate rows” option.
Lastly, make sure the Social Good app can run this query by giving it the right permissions.

Check the “Allow all users to run this query” option.
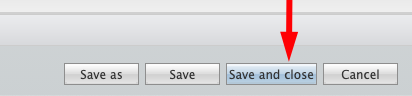
Now you are ready to save the query click on the “Save and close” option.
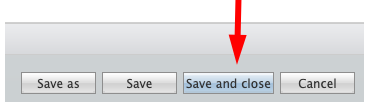
That’s all there is to create a query for the Barcodes Scanner app.
FAQ on barcode scanner
- Altru only supports 15,000 rows exported via ODATA links. If your query is larger than 15,000 rows you will need to create smaller queries with Altru by using date ranges. Example.
Social Good Software Update 1.2.5v
Deduper
- Added support to export duplicate data with excel or csv options
- Fixed a minor bug with Merging options not working without API level access
Email Designer
- Migrated to a more reliable scheduling system
- Fixed a bug with emails not being sent in some cases
- Fixed a bug with preview not working on encoded emails
- Added support of Query returns an empty value for money then we use ‘$0.00’ as a replacement
- Added support for Hour and Minute data type
- Added support for Integer data type
- Added support for the preview tab to only show the first 35 characters of the email
- Added support for sticky configuration in merging fields when Altru is offline
- Fixed a bug with new fields not getting pulled when re-adding an ODATA link on the creation of new email template
Calendar Builder
- Fixed a minor bug with calendars not updating cache on data downloads
Checkout Flows
- Added server-side caching for data (Improves response time)
Online Template
- Added server-side caching for data (Improves response time)
- Added back Dynamic Code Execution – Required for Donations in Cart page
Membership Portal
- Added faster response times for Single Sign on dialogs. ~30ms
Barcode Scanner
- Added better support for scanning tickets on a guest’s device. Watch Demo
System Improvements
- Rolled out a Content Delivery Network across all features in the product. Will increase reliability for traffic spikes.
How to remove duplicate email from membership in Altru
How to set up ODATA links with Deduper
The Deduper application requires a data source to be able to dedupe data. You will need to first create ODATA Links before you can start using the application. If you have not already done so you can start with the following guide.
How to create Deduping Query with Altru
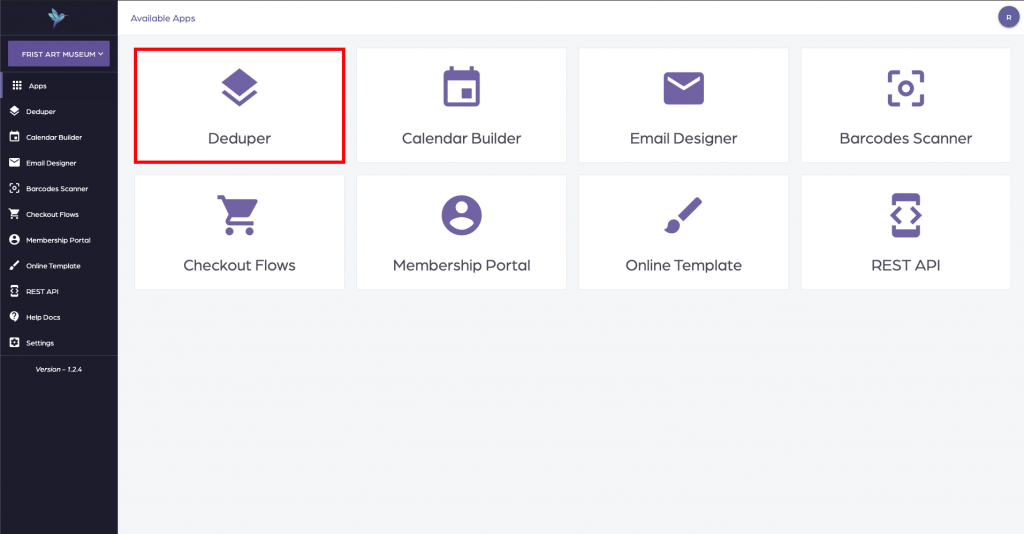
Step 1: Login into your Social Good Software account and click on the deduper application.
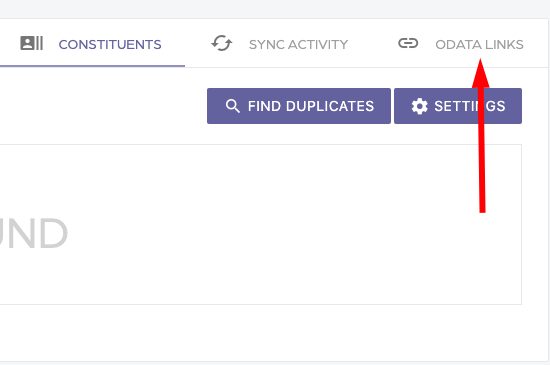
Once you have clicked on the deduper application click on the ODATA Links navigation item on the top right hand side menu.
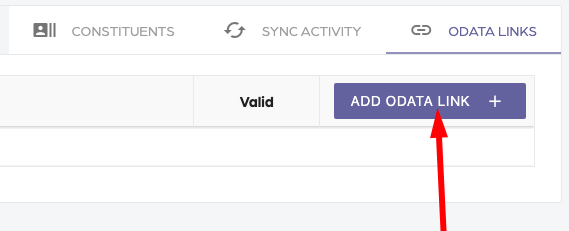
Then you will see the option to add an ODATA link. Click on the plus option to create a new link with Altru.
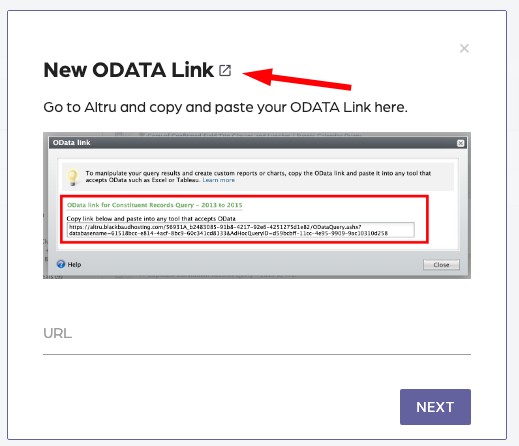
You will get a dialog asking you for an ODATA link since you already have created the ODATA links go ahead and add all the links to the Deduper application.
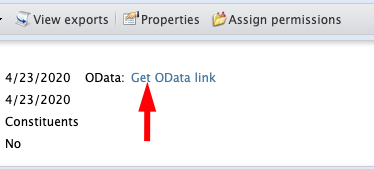
You can do this by logging into Altru and going to the information library and looking for the links you created. Once you find each of the links just click on the “Get OData link” and copy and paste the link into the Deduper application.
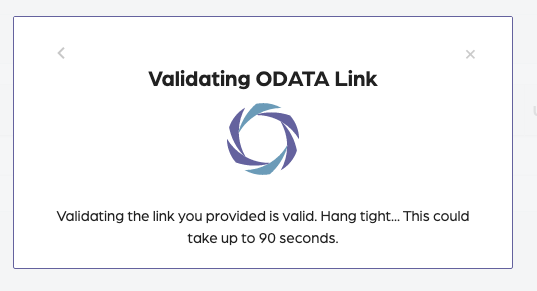
Each of the links will be validated with Altru just to make sure you don’t make any mistakes as you copy and paste the links into the input box. Please be patient as this can take up to 90 seconds to complete per link.
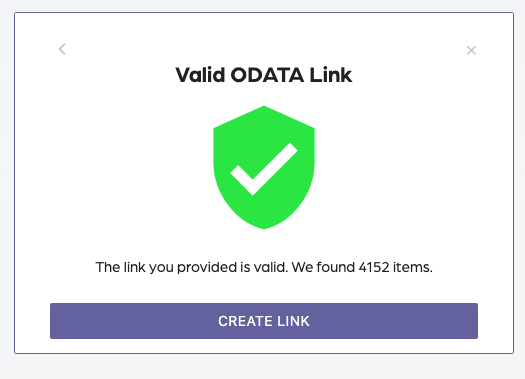
Once the validation is complete you will get a success message letting you know the link is valid.
Repeat the same process for the rest of the ODATA links.
Step 2: Sync data from Altru
Once you have all your ODATA links setup the next step is to download data from Altru to dedupe it. Click on the Sync Activity tab and then click on the Request Data Button.
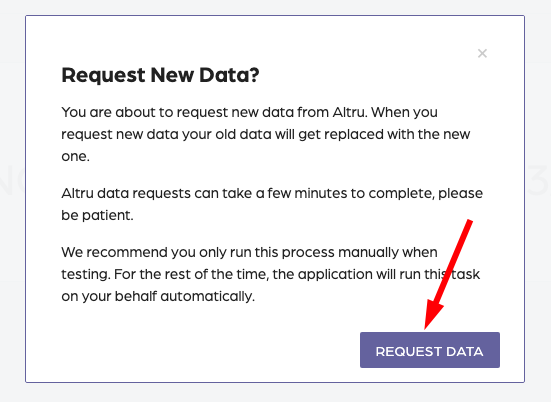
This process typically takes 5-10 minutes to sync data from Altru. Give it a few minutes to download the data before you move to the next step.
Step 3: Setup the Deduping key
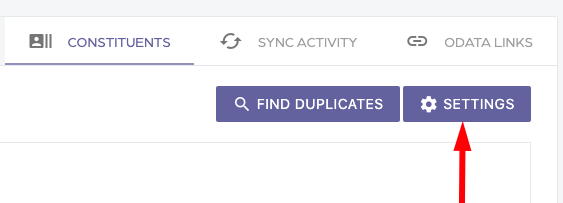
Click on the Constituents tab to set up the deduping key.
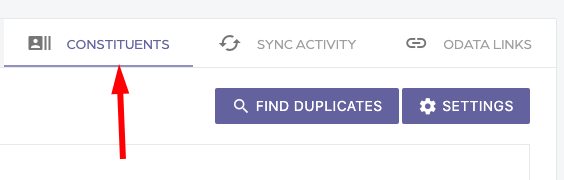
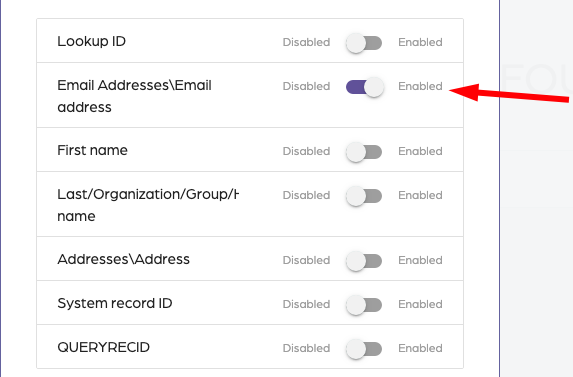
Then click on the settings button, this will bring up a dialog to set up the unique identifier key.
Deduping Key – The deduping key is used to find duplicate records in your data. In our example we will be using Email.
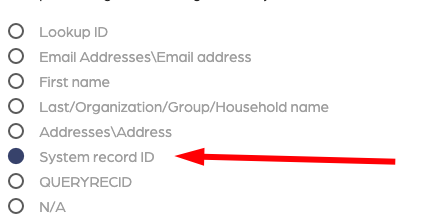
Once you have setup both the Deduping Key and the System Record Id you will be able to run the deduping process. Click on the save button to save your settings.

Step 4: Find duplicates in dataset
Click on the “Find Duplicates” button to find duplicates in your data.
This will bring up a dialog letting you know that this process could take up to 15 minutes.
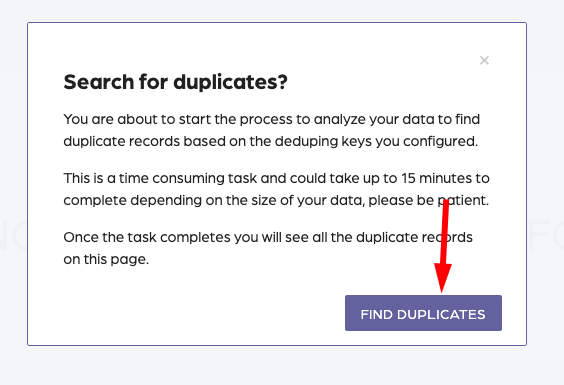
This will schedule a task to find duplicates in your data. Please be patient as this is a time consuming task.
How to create deduping Query with Altru
The Deduper application requires a data source to be able to dedupe data. Typically this is a query that outputs the data you want to dedupe. In this short guide, we will be walking you through the process of creating a simple query to find duplicates.
Remember this query can be any query you want to process for duplicates. For this example, we will be deduping our entire database, but you can choose which data to dedupe depending on how you set up your data source.
Step 1: Login into your Social Good Software account and click on the deduper application.
Once you have clicked on the deduper application click on the ODATA Links navigation item on the top right hand side menu.
Then you will see the option to add an ODATA link. Click on the plus option to create a new link with Altru.
You will get a dialog asking you for an ODATA link since we don’t yet have the link. We will click on the external icon to open the Altru information library directly.
Step 2: Create a De-duping query
Clicking on the link will open a new tab with the information library in Altru. Click on the “Add an ad-hoc query” option on the top left-hand side navigation.

This will bring up the option to create a query. We are going to be creating a Constituent query to dedupe constituents.
Note: If you want to dedupe other data types select the right query type, for example, sales query.
Now it’s time to create the query based on our query restrictions.
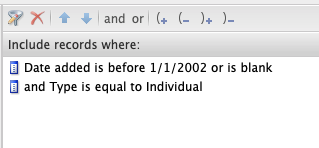
Let’s review each restriction one at a time.
The type is equal to individual – We only want to dedupe individual records at this time. If you want to dedupe other types such as organizations create a separate query and process those independently from this query.
Date added is before DATE or is blank – Altru has a restriction to only be able to output 15,000 rows at a time with ODATA links. Because of this restriction, we have to create multiple queries. You want to create a query that outputs less than 15,000 rows. In our example, it’s any record created before 1/1/2002. Keep in mind this could be different for your organization.
Let’s now setup the output display fields
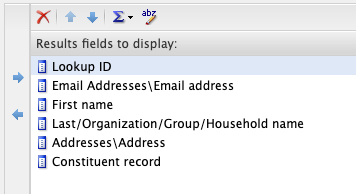
Let’s review each output field one at a time.
Lookup ID – Quick handy way to view if the record is a duplicate by just seeing the ID.
Email Address – Easily see if the email can provide a contextual action
First name – View the first name
Last name – View the last name
Address – View the address
Constituent record – We need this to be able to merge records together
WARNING: The Deduper only works with one type of column. Meaning you can’t have two columns that are the same such as Date changed, Lookup ID, etc.
Now click on the Preview Tab on the top navigation.

You will want to make sure the total result is less than 15,000 rows.
Don’t worry about not having all the records in this query, we will come back and create more queries for the rest of the records. Once you are happy with the output click on the “Set save options”
Make sure you check the “Suppress duplicate rows” checkbox. Don’t worry if you see multiple rows the Deduper application knows how to deal with duplicates.
Double check the output of the query is less than 15,000 rows.
If you see more than 15,000 rows go back and adjust the date to output less than 15,000 rows.
Once you have verified you have less than 15,000 rows then name and save your query.
Name: Duplicate Constituent Records Query (BOT – 2002)
Description: Query to output records created from the beginning of time to 01/01/2002
Step 3: Duplicate Query with revised dates
Once you have your query created, duplicate the query and adjust the dates for the next 15,000 rows in your database by clicking on the copy button.

This will bring up a screen identical to the creation query screen. You will have to change the date range selection and rename the query to reflect the new dates. Select the date restriction and use the Between operator to select two date ranges.
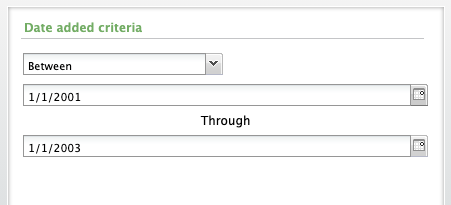
You might be able to select more years depending on the output. For example, if your output is only a few hundred rows you can select a wider range of dates. If you are getting too many rows, you might have to restrict the date range between months and years.
Click on the “Set save options” and save your query by changing the name
Name: Duplicate Constituent Records Query (2002 – 2003)
Description: Query to output records created from 01/01/2002 to 01/01/2003
At this point, you will want to repeat the process in step three until you have done your entire database. This will equal a group of queries. Here is how the process works.

You will end up with a group of queries. You now have the ODATA queries required for the Deduper application. You can now at this point follow the guide on “How to set up ODATA links with Deduper”.
How to setup a list view for calendar on a mobile device
This short tutorial and video will guide you how to set up a list view for calendar on a mobile device.
Why Need a List View for Calendar on a Mobile Device:
A detailed view of calendar on mobile device looks either overcrowded or it has so many blank areas. Hence is becomes very difficult to use on a mobile device. In order to avoid this, a customized list view for calendar on a mobile device is very useful.
Requirements:
A calendar already built by using Social Good Software.
Steps:
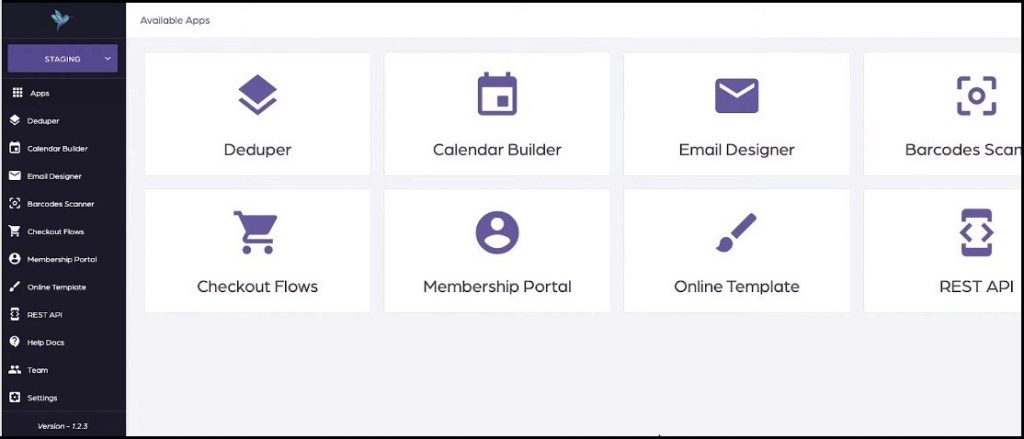
1. Click “Calendar Builder” tab on Social Good App. Now click a calendar from available calendars to open the calendar for which you want to set up list view on a mobile device.
2. Click “SETTINGS” on top right of the interface. This will open settings page with many preferences to customize your calendar.
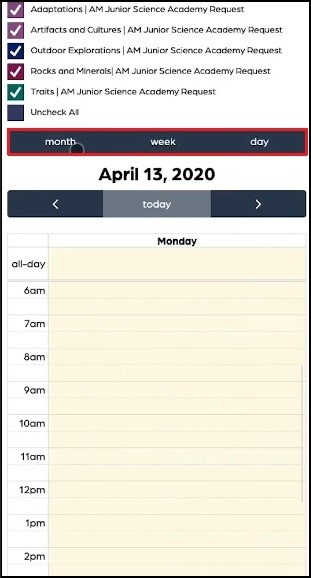
3. Now look for “Mobile Calendar View” preferences. You can select any of the preferences i.e. “Monthly”, “Weekly”, “Daily”, or “List”.
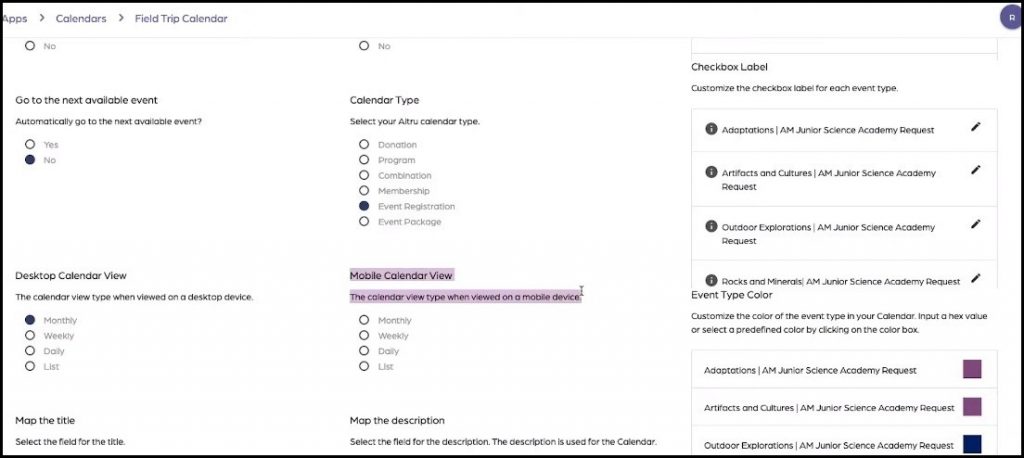
4. Select “List” from “Mobile Calendar View” and press “SAVE SETTINGS” button on bottom right of the screen. Now click “PREVIEW” from top right of the screen to preview list view for calendar on a mobile device.
5. Next click “SHARE” from top right of the screen and then click “PREVIEW CALENDAR” below “Direct Link” to preview the calendar on a different tab.
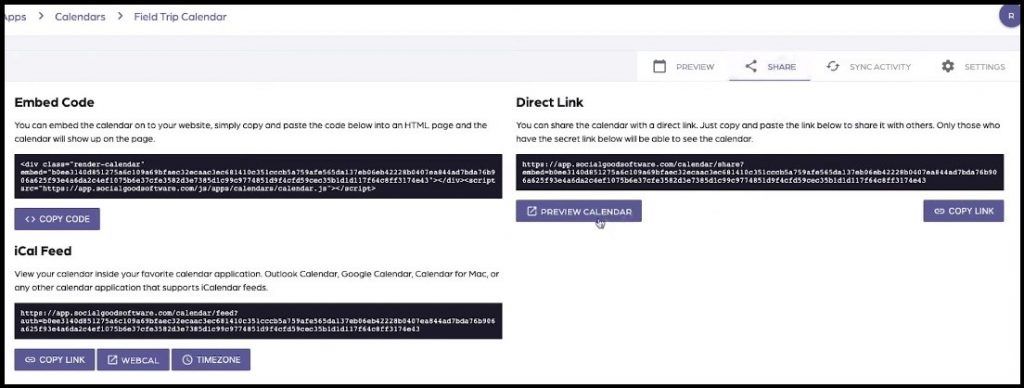
6. Now press “SHARE” and then “PREVIEW” to preview the calendar on a mobile device. Now you can preview the calendar on a screen similar to that of a mobile device.
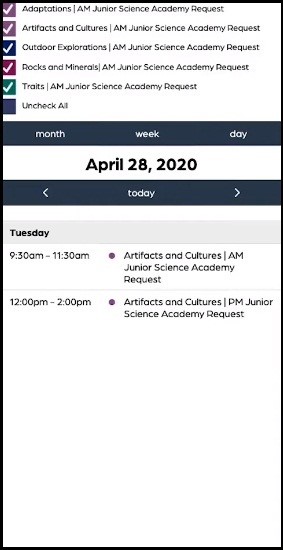
7. You can change the view type such as daily, weekly, or monthly any time by going back to settings just as described in step 3. Now open the mobile view again as described in step 4 and 5 and refresh the view by clicking “…….”.
8. As you can observe, the “daily”, “weekly” or “monthly” views on a mobile device are not as user-friendly as list view. You can also directly toggle between “daily”, “weekly”, or “monthly” view by clicking “day”, “week”, or “month” from mobile view of your calendar.