Do you have members who auto-renew more than once? Or a monthly membership program that requires an email to go out to members monthly? Keep on reading to learn how to use the relative to date frequency option in your email settings to send the same email on a specific date you want it to be.
If you want to use the relative to date option for an email, you will need a specific date like the date of the membership renewal, the date of purchase, or anything with a date. We recommend that you use the auto-renew query prepared by Social Good Software.
Note that there are many kinds of emails with different purposes based on the needs of an organization, so Social Good Software supports three types of emails.
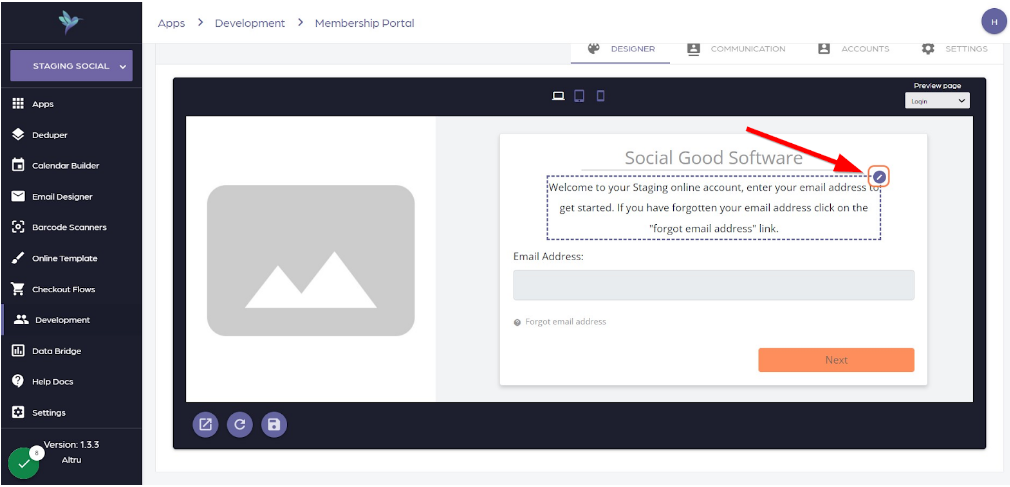
Email Frequency settings
You can find the Email Frequency settings on the email settings page under the option Frequency. The frequency automatically defaults to sent out immediately.
1. Frequency – Immediately
- This option will send the email immediately after you create it.
- The immediate option requires a note type in the query to know that you sent out an email.
Learn about how to create a note type for a sales order query
2. Frequency – Specific time
- You can set the time when you want your emails to go out.
- Note type is also needed to know that you sent an email at a specified time.
Learn about how to create a note type for a membership query
3. Frequency – Relative to date
- You need to add to the query specifically on the output fields the purchase date, transaction date, expiration date, or another Relative Field.
- This option does not require a note type in the query but needs a date like the renewal date, date of purchase, and so on to send out an email relative to the date.
- A note type is still required in the email settings to create a note in Altru that the email already went out.
Do you need to email the same person multiple times?
Read How to bypass a single email limit per email type.
Summary
Sending emails can be at the very moment, at a specific time, or relative to date. Depending on which frequency option you select, you will either need a note type in the query or a date in the output field.
If you have additional questions, please reach us through support@socialgoodsoftware.com. We are always happy to help!