This short tutorial will guide you how to view system logs for calendar.
Requirements:
A calendar already built by using Social Good Software
You have been using the calendar for some period of time, so that it does have some system logs to be viewed.
Steps:
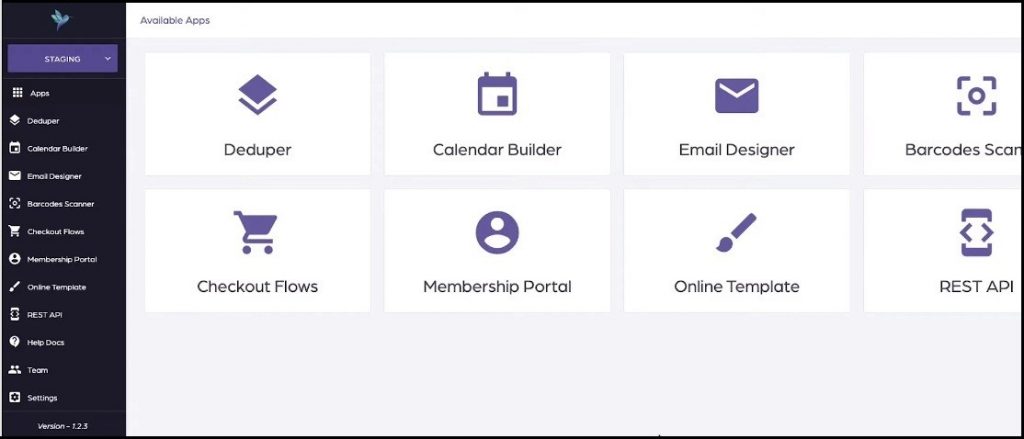
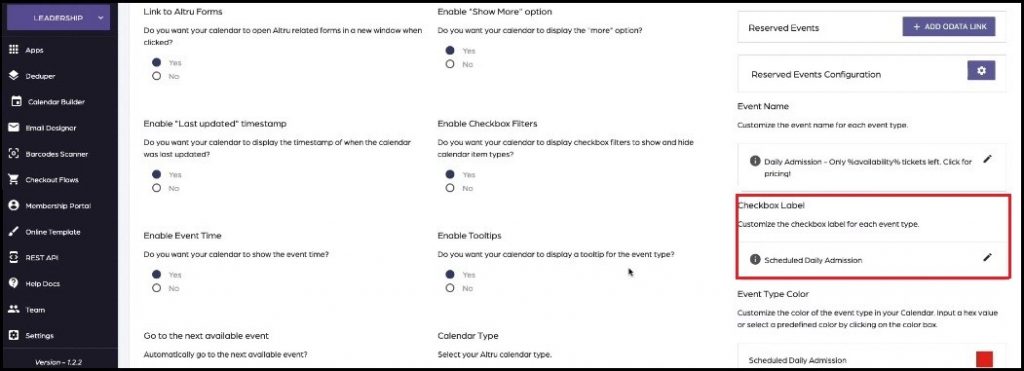
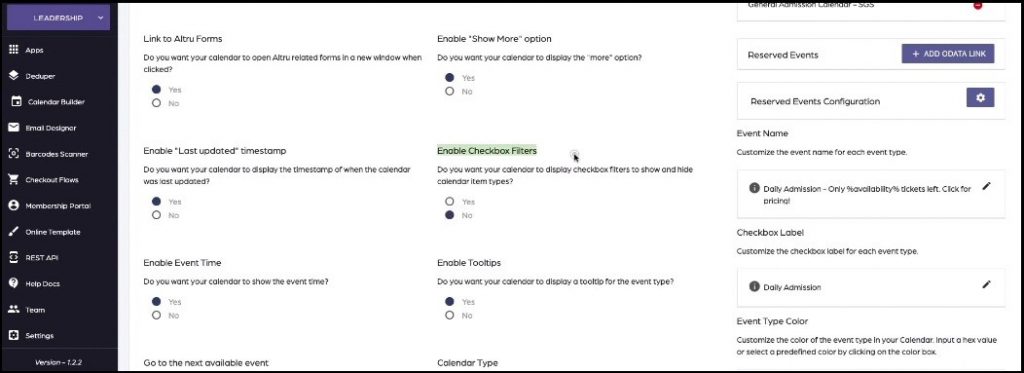
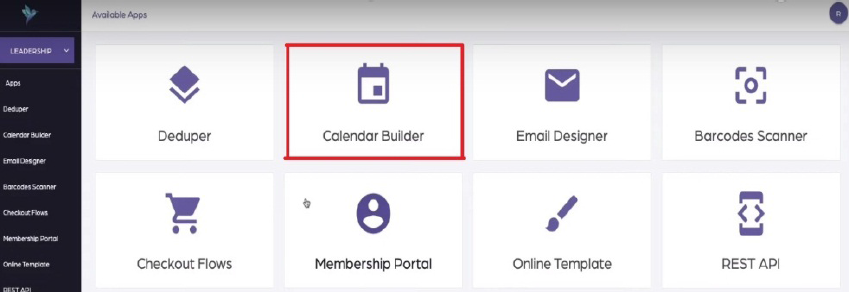
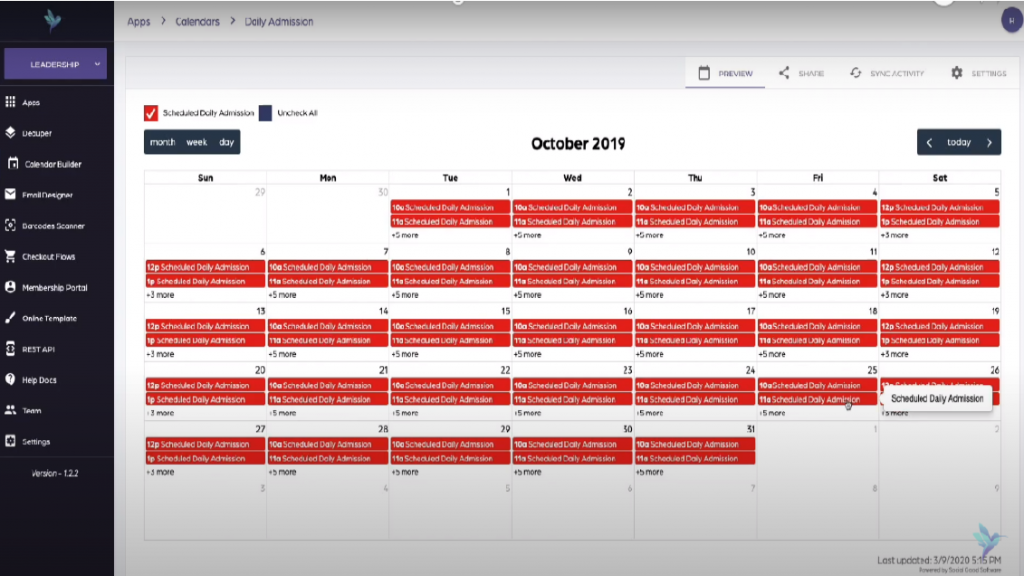
1. Click “Calendar Builder” tab on Social Good App. Now click a calendar from available calendars to open the calendar for which you want to view the system logs.

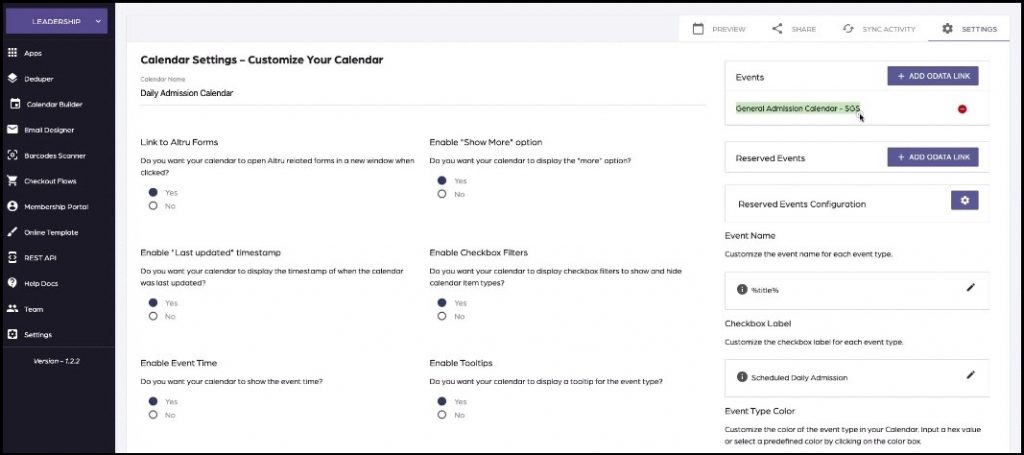
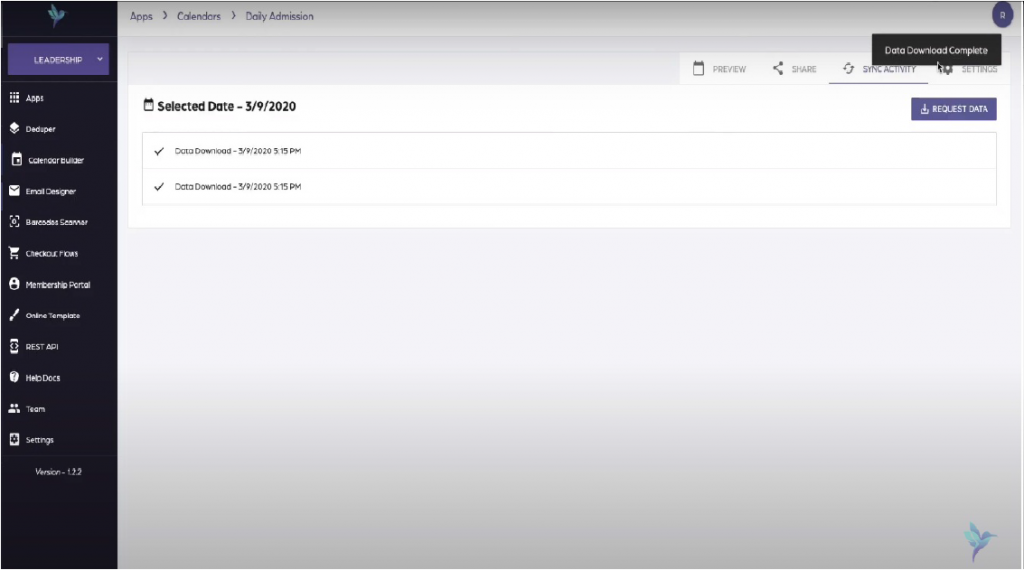
2. Open a calendar from “Available Calendars”, select a day to view the system logs. Now click “Sync Activity”. This will open system logs view for the selected date.
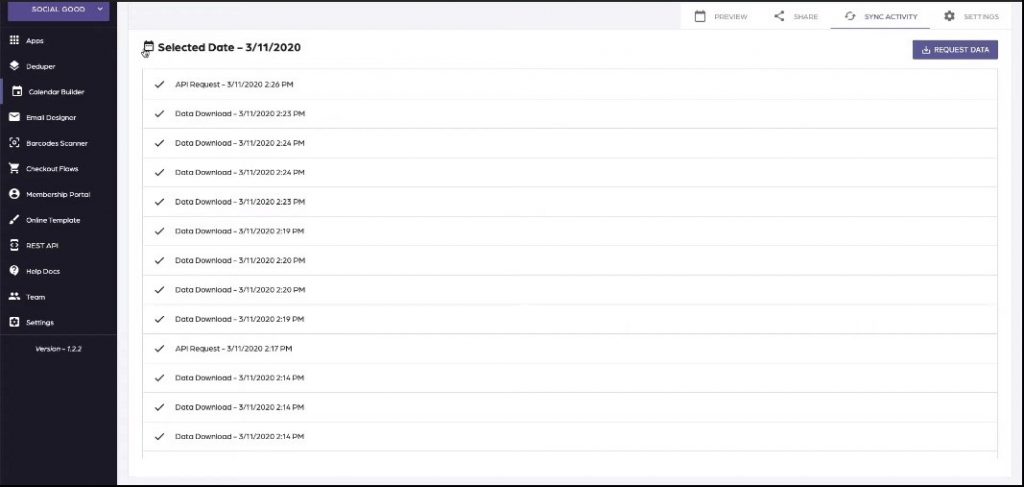
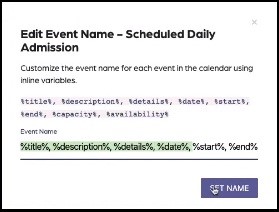
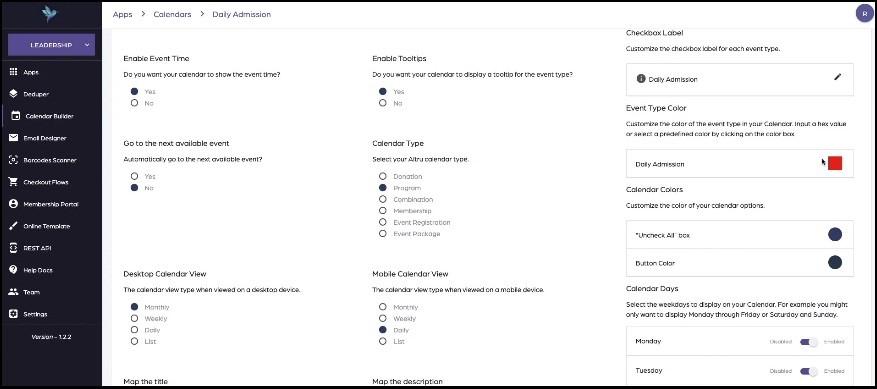
3. Click any event from the log to view more details of the event.
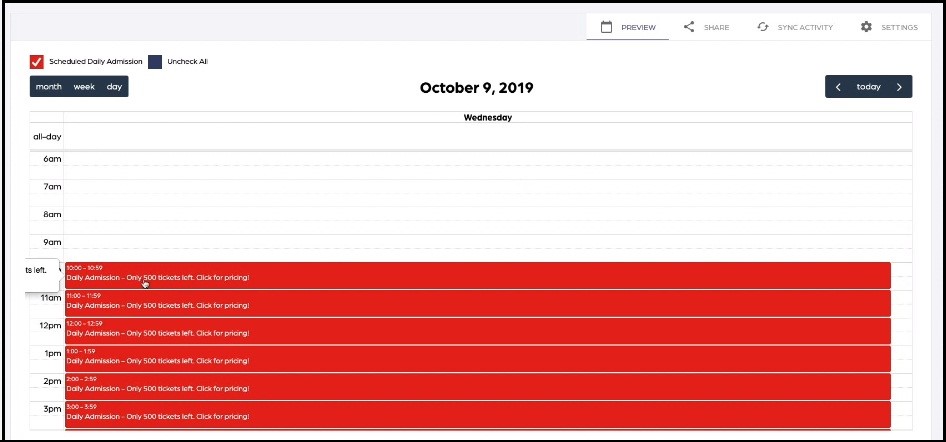
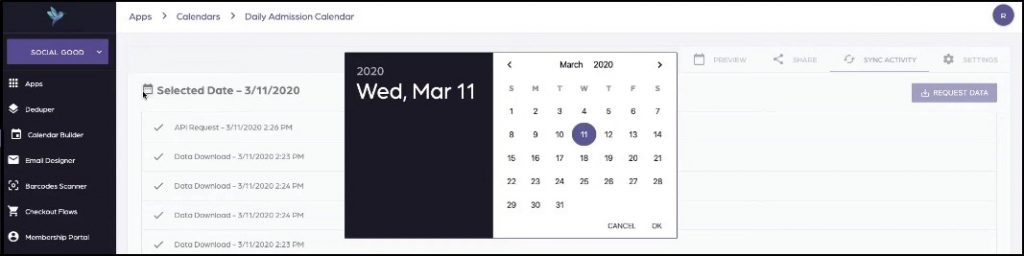
4. You can change the selected date from the small calendar sign on top of the log view.
Note: The system logs will not be available if you delete the calendar either intentionally or accidentally